



STEM Kits for Schools in India: STEM Lab Setup Guide, Kit List & Cost (2026)
How to set up a STEM lab in a school: room layout, a STEM kit list by subject and class, cost factors and ATL grant rules, from STEM kits manufacturer Samtech Instruments.


+91 8683 878 878

Pan India Delivery

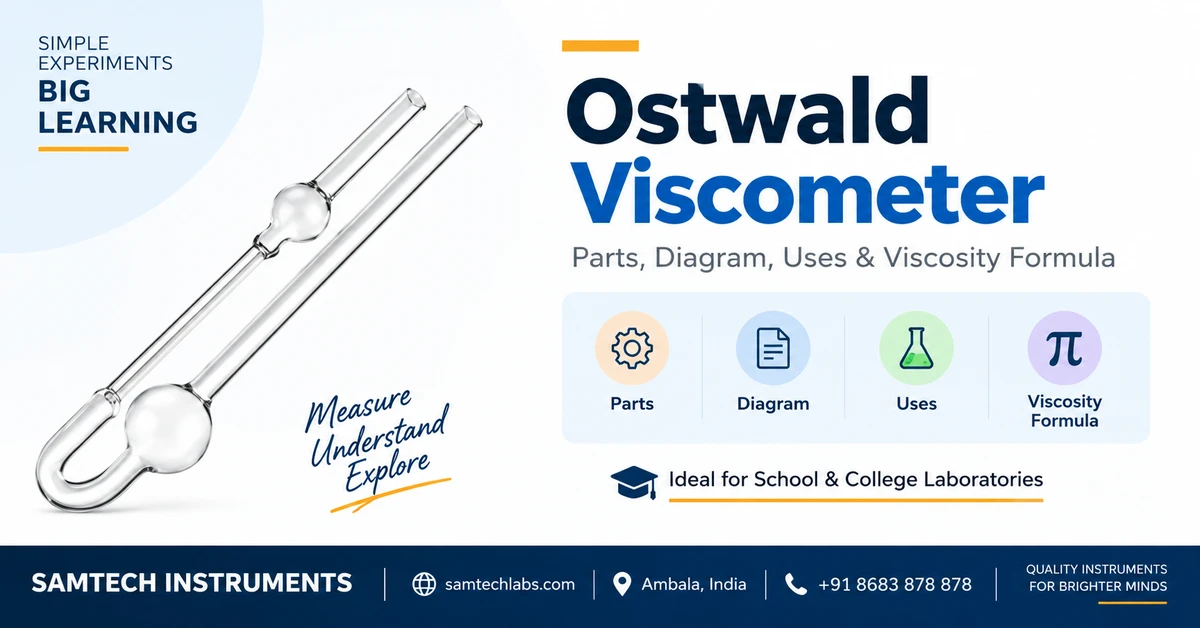
An Ostwald viscometer is a U-shaped glass instrument used to measure the viscosity of a liquid by timing how long it takes to flow between two fixed marks under gravity. By comparing the flow time and density of a test liquid against a reference liquid (usually water) of known viscosity, you can calculate the unknown viscosity. This guide covers its parts, the viscosity formula, and the step-by-step procedure with a worked example.
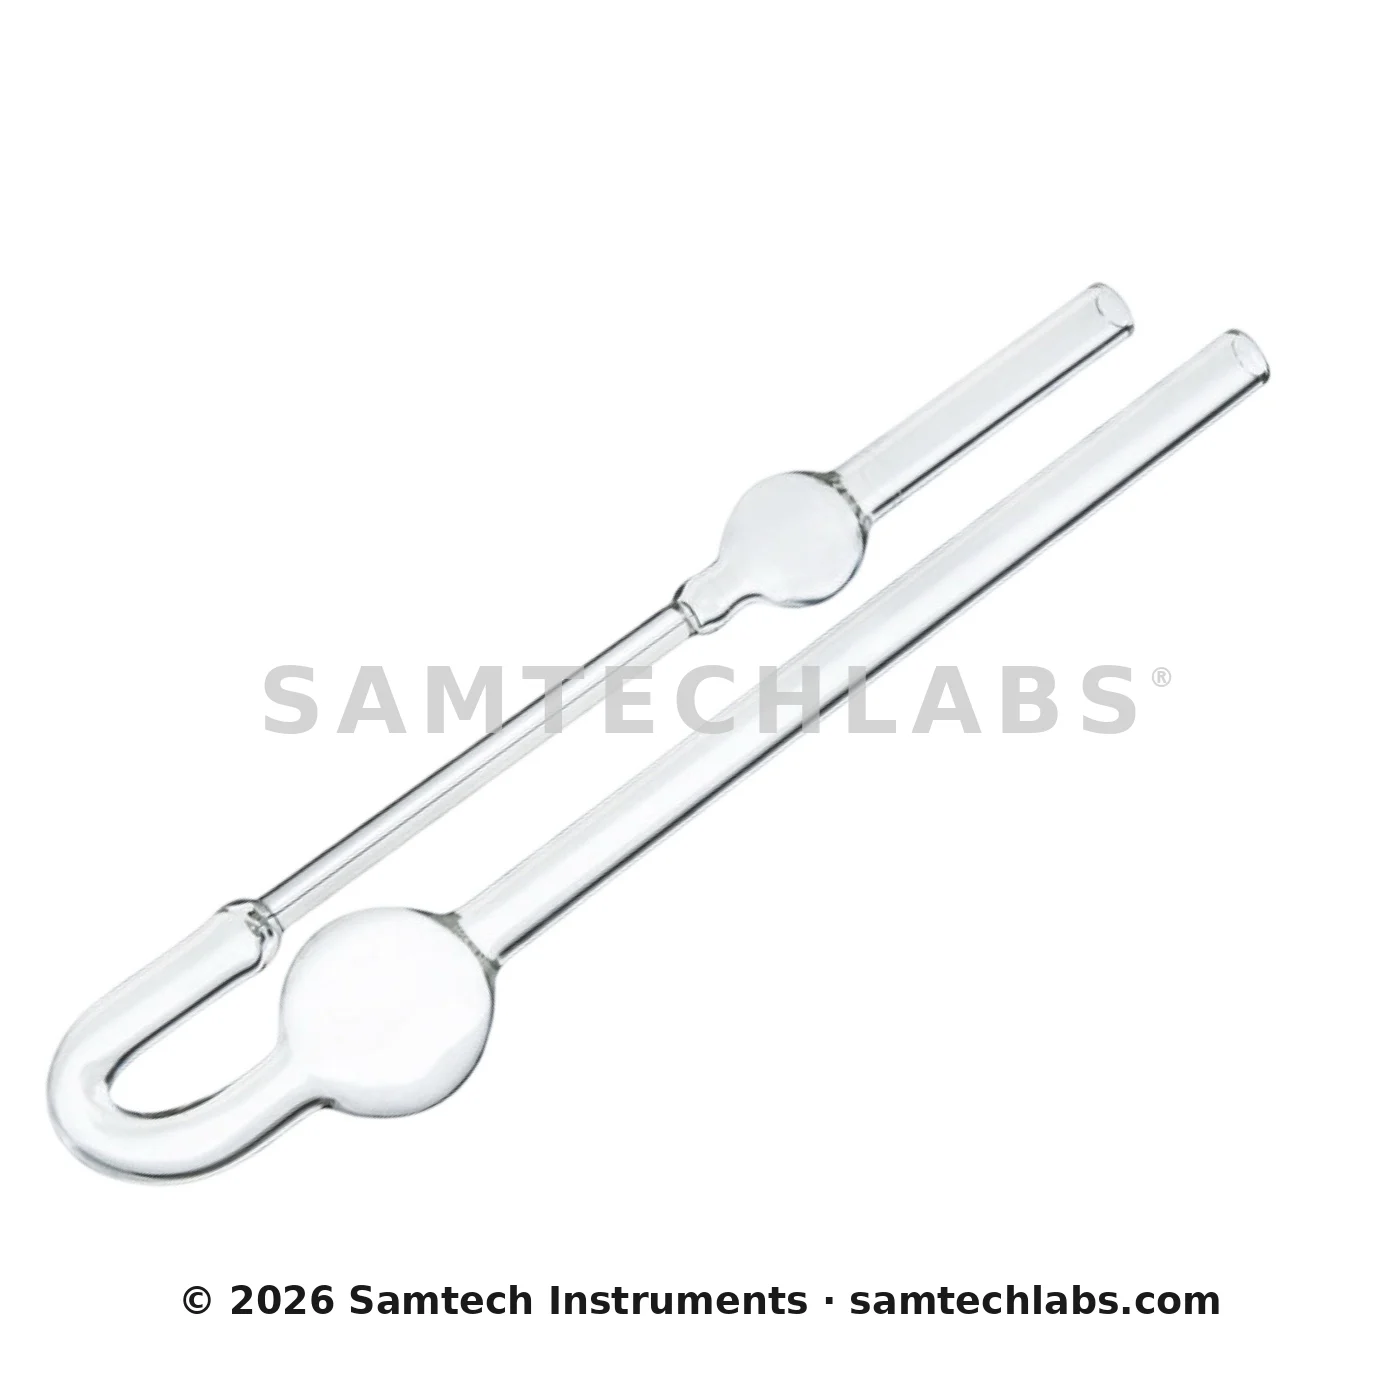
An Ostwald viscometer is a U-shaped glass instrument used to measure the viscosity of a liquid. It works by timing how long a fixed volume of liquid takes to flow, under gravity, through a narrow capillary tube between two etched marks. Comparing this flow time (and the liquid’s density) against a reference liquid of known viscosity — almost always water — gives the viscosity of the test liquid.
It belongs to the same family of comparative-method glassware as the stalagmometer: both instruments use the same instrument for a reference and a test liquid so that the instrument’s own physical constants cancel out of the final calculation, leaving only quantities you actually measure.
You’ll typically meet an Ostwald viscometer in an undergraduate physical chemistry lab, and in polymer science, where it is used to estimate the relative molecular mass of a polymer solution from its intrinsic viscosity.
An Ostwald viscometer has six main structural parts: a plain suction limb, and a measuring limb made up of a measuring bulb (with two timing marks), a capillary tube, and a reservoir bulb. The diagram below labels each one.
Fig. 1 — A U-shaped Ostwald viscometer showing the suction tube, measuring bulb with upper and lower marks, capillary tube, and reservoir bulb.
Liquid is drawn up past the upper mark, then released to flow back down under gravity through the capillary. The rate of that flow is described approximately by the Hagen–Poiseuille equation, which relates flow rate to viscosity, capillary geometry and the driving pressure:
η ≈ πΔP r⁴ t / (8VL)
where ΔP is the driving pressure (proportional to the liquid’s density, since gravity provides the head), r and L are the capillary’s radius and length, V is the volume drained, and t is the flow time.
In the idealised form above, a small kinetic-energy correction is left out — it accounts for the energy used accelerating the liquid into the capillary, rather than overcoming viscous drag. For classroom purposes this correction is small enough to ignore when flow times are reasonably long (typically well over 100–200 seconds) and the two liquids being compared are not too dissimilar, which is why the instrument is normally used comparatively rather than to calculate absolute viscosity directly.
Since the capillary radius, length and measured volume are fixed properties of the same instrument, they cancel out when you compare a test liquid against a reference liquid measured with that same viscometer:
η₂ = η₁ × (ρ₂t₂) / (ρ₁t₁)
η₁, ρ₁, t₁ = viscosity, density and flow time of the reference liquid (water)
η₂, ρ₂, t₂ = viscosity, density and flow time of the test liquid
Water is commonly used as the reference liquid because its viscosity and density are well-established over a range of temperatures — approximately 1.00 cP (centipoise) at 20°C. Use the tabulated value of water’s viscosity and density at your actual working temperature; 1.00 cP and 1.00 g/mL are convenient approximate values often used for basic classroom calculations near room temperature.
η₂ = η₁ × (ρ₂t₂)/(ρ₁t₁) to find the viscosity of the test liquid.| Quantity | Symbol | How it’s obtained |
|---|---|---|
| Flow time, reference liquid (water) | t₁ | Stopwatch, mark a to mark b, averaged over 2-3 trials |
| Flow time, test liquid | t₂ | Stopwatch, same two marks, averaged over 2-3 trials |
| Density of water | ρ₁ | Tabulated value (≈1.00 g/mL) at working temperature |
| Density of test liquid | ρ₂ | Specific-gravity bottle or pycnometer |
| Viscosity of water | η₁ | Tabulated value (≈1.00 cP at 20°C) |
| Viscosity of test liquid | η₂ | Calculated: η₁ × (ρ₂t₂)/(ρ₁t₁) |
Suppose a student records the following, at 20°C, with water as the reference liquid (η₁ = 1.00 cP, ρ₁ = 1.00 g/mL):
Applying the formula:
η₂ = 1.00 × (0.85 × 150) / (1.00 × 100)
η₂ = 1.00 × 127.5 / 100 = 1.275 cP
The test liquid flows more slowly than water despite being less dense — consistent with it being more viscous.
These three are all calibrated glass instruments that work by comparing a test liquid against a reference under identical conditions — but each measures something different:
| Instrument | Comparative method | What it measures |
|---|---|---|
| Ostwald viscometer | Times flow between two marks | Viscosity |
| Stalagmometer | Counts drops between two marks | Surface tension |
| Burette | Reads volume dispensed against a scale | Volume delivered (titration) |
If you’ve already measured surface tension, see our stalagmometer guide for the drop-count method it uses instead of timed flow.
For school and college physical chemistry labs, look for:
Samtech Instruments manufactures and supplies borosilicate-glass Ostwald viscometers and other physical-chemistry glassware from Ambala, Haryana.
Measuring the viscosity of a liquid by timing how long it takes to flow between two fixed marks under gravity, compared against a reference liquid such as water.
η₂ = η₁ × (ρ₂t₂)/(ρ₁t₁), comparing the test liquid’s flow time and density against a reference liquid (usually water) of known viscosity.
It measures the relative (comparative) viscosity of a liquid. The test liquid’s flow time and density are compared against a reference liquid, usually water, to calculate its viscosity.
Both are comparative glass instruments used with a reference liquid, but an Ostwald viscometer times flow between two marks to find viscosity, while a stalagmometer counts drops to find surface tension.
Because its viscosity and density are well-established over a range of temperatures, making it a reliable standard for the comparative calculation.
Samtech Instruments manufactures Ostwald viscometers and other physical-chemistry glassware in Ambala, Haryana, and supplies them for educational and laboratory requirements across India.
How to set up a STEM lab in a school: room layout, a STEM kit list by subject and class, cost factors and ATL grant rules, from STEM kits manufacturer Samtech Instruments.

Understand stalagmometer parts, working principle, uses and surface tension formula with a simple guide for laboratory measurements.
Learn spherometer parts, least count formula, working method and radius of curvature calculation with a clear physics lab guide.
No account yet?
Create an Account